


Published on: | Author: Galoce Technical Support Team
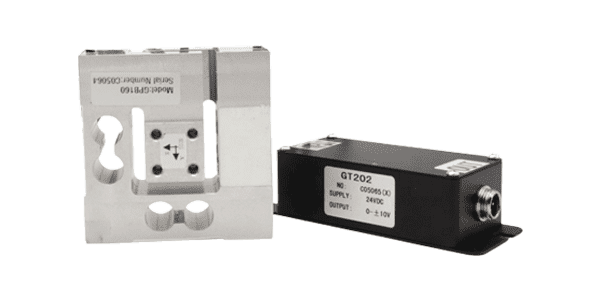
You've installed your load cell, connected the indicator, and power up the system—but the reading jumps erratically, never settles, or drifts without reason. Noise in load cell output is one of the most frustrating and common challenges in weighing and force measurement. This guide walks through the primary causes of signal noise—from electrical interference to mechanical vibration—and provides step-by-step solutions to restore stable, reliable readings.
1. What Does "Noisy Output" Look Like?
Before diving into causes, it's essential to recognize the symptoms of a noisy load cell signal .
| Noise Type | Visual Signature | Typical Causes |
|---|---|---|
| Random Fluctuations | Readings jump rapidly (± several digits) with no clear pattern | Electrical interference (EMI), poor connections, static discharge |
| Periodic Oscillation | Signal cycles up and down at a regular frequency | Mechanical vibration (nearby motors, pumps), resonance, AC power ripple |
| Drift | Slow, continuous change in reading without load change | Temperature effects, moisture ingress, aging, power supply drift |
| Spikes/Glitches | Sudden, short-duration jumps (often returning to baseline) | Switching loads (relays, contactors), electrostatic discharge, lightning |
2. Electrical Interference (EMI/RFI)
Electromagnetic interference (EMI) and radio-frequency interference (RFI) are the most common culprits in noisy load cell readings, especially in industrial environments .
Common Sources of EMI/RFI:
- Variable Frequency Drives (VFDs) and motor controllers
- Large motors, generators, transformers
- Welding equipment (especially arc welders)
- Radio transmitters, cell towers, two-way radios
- Switching power supplies and relays
- Nearby power cables running parallel to signal lines
Solutions for EMI/RFI:
- Use shielded, twisted-pair cable: The shield should be connected at one end only (typically the indicator side) to avoid ground loops .
- Separate signal cables from power cables: Maintain at least 0.3–1 meter separation. Cross at 90° angles if crossing is unavoidable .
- Route cables in metal conduit: Provides excellent shielding; ensure conduit is properly grounded .
- Install EMI filters or ferrite beads: On both power and signal lines near noise sources .
- Use signal conditioning with low-pass filtering: Many modern indicators have adjustable digital filtering—increase the filter setting if noise is persistent .
Pro tip: If noise appears only when specific equipment (e.g., a VFD) is running, the source is almost certainly EMI. Test by temporarily shutting down suspect equipment to isolate the cause .
3. Grounding Problems and Ground Loops
Improper grounding is a frequent source of mysterious noise. Ground loops occur when there are multiple paths to ground, creating circulating currents that induce noise in the signal .
Symptoms of Ground Loops:
- Noise at power line frequency (50/60 Hz) or harmonics
- Noise changes when other equipment is connected/disconnected
- Readings fluctuate when touching the load cell or structure
Proper Grounding Practices:
- Single-point grounding: The cable shield should be grounded at only one end—typically at the indicator or amplifier. Grounding both ends creates a ground loop .
- Load cell body grounding: The load cell itself should be electrically isolated from the structure unless specifically designed otherwise. Use isolation mounts if needed .
- Check for ground potential differences: Measure voltage between grounding points—anything over ~0.1V AC indicates a problem .
- Avoid grounding through machine structures: Use dedicated grounding points back to a common star ground .
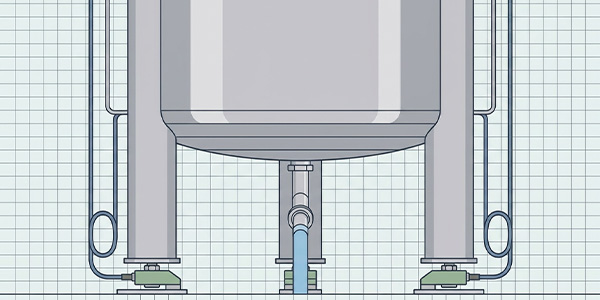
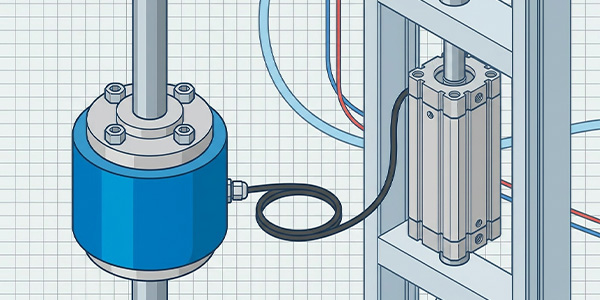
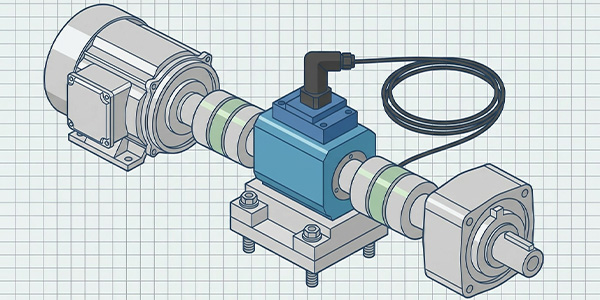
4. Mechanical Vibration and Resonance
Physical vibration of the load cell or its mounting structure can produce apparent electrical noise because the strain gauge is actually experiencing alternating stress .
Common Vibration Sources:
- Nearby machinery (pumps, compressors, conveyors)
- Traffic or foot traffic on weighing platforms
- Wind-induced oscillation of outdoor structures
- Resonance at the system's natural frequency
Solutions for Vibration-Induced Noise:
- Mechanical isolation: Use vibration damping mounts (rubber or neoprene isolators) between the load cell and structure .
- Increase mechanical stiffness: Reduce deflection under load to minimize movement .
- Adjust digital filtering: Increase the averaging time or low-pass filter cutoff to smooth out vibration effects .
- Change system natural frequency: Add mass or stiffness to move resonance away from operating frequencies .
- For periodic vibration: Sample synchronously with the vibration cycle or use notch filtering .
5. Power Supply Issues
The excitation voltage supplied to the load cell must be clean and stable. Noisy or unstable power directly translates to noisy output .
Common Power Supply Problems:
- Ripple and noise from switching power supplies
- Voltage fluctuations from large loads cycling on/off
- Insufficient current capacity—voltage sags under load
- AC line noise coupling into the DC supply
Solutions:
- Use a regulated, low-noise power supply specifically designed for sensors (linear supplies are often quieter than switching types) .
- Add additional filtering: Place a capacitor (e.g., 100–1000 µF) and ferrite bead at the load cell excitation input .
- Separate power for load cells and digital/relay circuits: Avoid sharing supplies with motors, solenoids, or displays .
- Check excitation voltage at the load cell: Measure with a true RMS meter—voltage should be stable within ±0.1% .
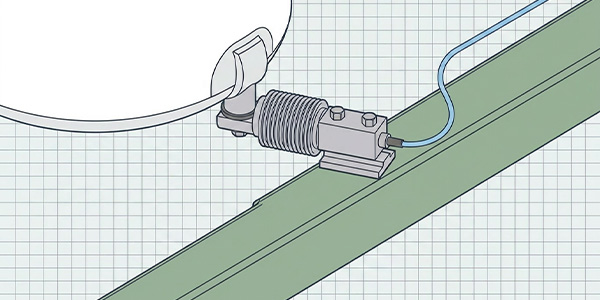
6. Cable and Connector Problems
Damaged cables, poor connections, and moisture ingress in connectors are frequent noise sources that are often overlooked .
Check These Points:
- Intermittent connections: Loose terminals, cold solder joints, or corroded pins cause random spikes and dropouts .
- Damaged insulation: Cuts or abrasion allow moisture and contaminants to enter, causing leakage currents and noise .
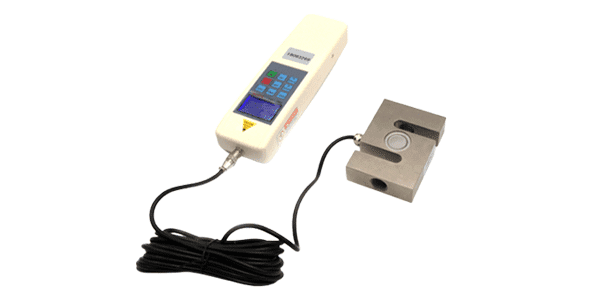
- Long cable runs: Excessive length increases resistance and susceptibility to pickup. Six-wire (remote sense) connection compensates for voltage drop in long cables .
- Connector contamination: Oil, dust, or moisture on connectors creates leakage paths. Clean with contact cleaner and apply dielectric grease .
- Cable movement: Triboelectric noise from cable flexing (coaxial cables are especially susceptible). Use low-noise cable and secure cables to prevent movement .
7. Environmental Factors (Temperature, Moisture)
Slow drift or changing noise patterns often trace back to environmental conditions .
Temperature Effects:
- Rapid temperature changes cause thermal EMFs (thermocouple effects) at dissimilar metal junctions .
- Temperature gradients across the load cell create apparent strain due to differential expansion .
- Solution: Allow warm-up time, shield from radiant heat/drafts, use temperature-compensated load cells, and insulate the cell .
Moisture and Humidity:
- Moisture ingress reduces insulation resistance between strain gauges and the cell body, causing leakage currents and noise .
- Condensation on connectors or inside the load cell creates intermittent paths .
- Solution: Use hermetically sealed (IP68) load cells in wet environments, apply conformal coating to PCBs, and use desiccants in enclosures .
8. Instrumentation and Amplifier Settings
Sometimes the problem isn't the load cell at all—it's how the signal is being processed .
Common Instrumentation Issues:
- Incorrect input range: If the amplifier is set for ±10V but the load cell output is only 20 mV, you're amplifying noise along with signal .
- Too high gain: Amplifying the signal too much amplifies noise proportionally .
- Sampling rate too high: Fast sampling captures high-frequency noise that may not be relevant to your measurement .
- Filtering disabled or too low: Many indicators have adjustable digital or analog filters—increase filtering if noise is present .
- Resolution limitations: Low-resolution ADCs (e.g., 12-bit) may show quantization noise as apparent signal fluctuation .
Solutions:
- Match amplifier input range to expected load cell output .
- Use appropriate gain—aim for signal levels that utilize 50–90% of the input range .
- Set sampling rate to at least 2× the highest frequency of interest, but no higher than necessary .
- Enable and adjust filtering—start with a 10 Hz low-pass filter and increase if needed .
- Consider upgrading to higher-resolution instrumentation (16–24 bit ADCs) .
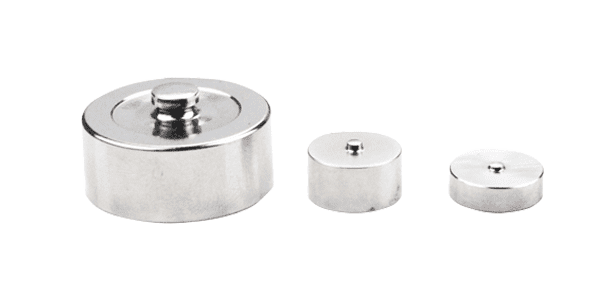
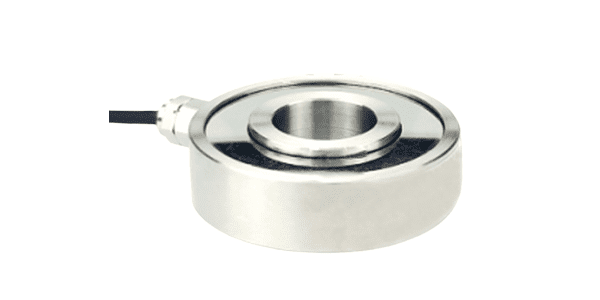
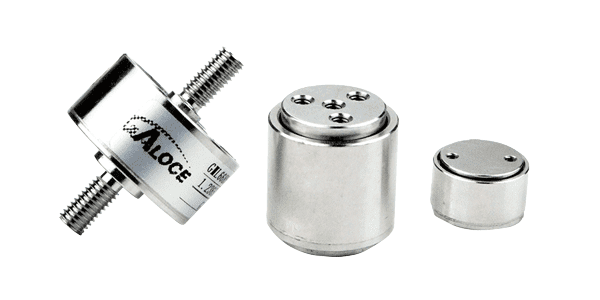
9. Load Cell Damage or Aging
If all else fails, the load cell itself may be the source of noise .
Signs of Load Cell Damage:
- Overload damage: Permanent deformation of the flexure alters strain gauge response and can create erratic output .
- Strain gauge debonding: Partial detachment causes intermittent contact and noise .
- Corrosion of internal components: Moisture ingress damages the strain gauges or bond .
- Fatigue cracks: Microscopic cracks in the flexure change the strain pattern .
- Aging drift: Gradual changes in material properties over years can increase noise floor .
Diagnostic Tests:
- Zero balance check: Should be within manufacturer's spec (typically ±1% of rated output). Large shifts indicate possible damage .
- Bridge resistance check: Measure input/output resistance—should match datasheet within tolerance. Deviations suggest internal damage .
- Insulation resistance test: As mentioned earlier, low resistance indicates moisture damage .
- Compare with known good cell: Substitute a known working load cell to isolate the problem .
10. Systematic Troubleshooting Checklist
When faced with noisy output, follow this step-by-step approach to identify and eliminate the cause .
✅ Step-by-Step Troubleshooting
- Visual inspection: Check cables, connectors, and load cell for physical damage, corrosion, or loose connections.
- Isolate the system: Disconnect all non-essential equipment. If noise disappears, add back components one by one to identify the culprit.
- Check power supply: Measure excitation voltage at the load cell—should be stable and within spec.
- Verify grounding: Ensure single-point grounding; check for ground loops.
- Test with dummy load: If possible, replace the load cell with a calibration resistor or simulator to see if noise persists—this separates sensor from system issues.
- Examine environmental conditions: Check temperature, moisture, and nearby noise sources (VFDs, motors, radios).
- Adjust instrumentation settings: Increase filtering, adjust gain, and verify input range.
- Measure load cell health: Check zero balance, bridge resistance, and insulation resistance.
- Temporary substitution: Replace with a known-good load cell to confirm whether the original is faulty.
- Consult manufacturer: If all else fails, contact technical support with your findings.
Conclusion: Achieving Stable, Reliable Measurements
Noisy load cell output is rarely caused by a single factor—more often, it's a combination of electrical, mechanical, and environmental influences. The key to resolution is systematic elimination: start with the most common causes (EMI, grounding, connections) and work through the checklist methodically.
Remember these core principles:
- Shielding and grounding are your first line of defense against electrical noise.
- Mechanical isolation addresses vibration-induced fluctuations.
- Clean, stable power is essential for accurate measurements.
- Instrumentation settings (filtering, gain, sampling) must match your application.
- When in doubt, test and substitute to isolate the problem.
At Galoce, we design our load cells for robustness and noise immunity, and our technical team is always available to help troubleshoot challenging installations. Whether you're dealing with persistent noise or selecting a new system, we're here to ensure you get the stable, reliable measurements your process demands.
Contact Technical Support for personalized troubleshooting assistance.