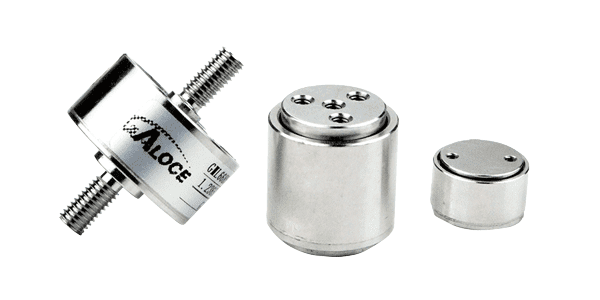
Torque Sensor Troubleshooting: When Readings Go Wrong
TIME: 2026.05.25AUTHOR: Carol LiNUMBER OF VIEWS 1333
Torque Sensor Troubleshooting: When Readings Go Wrong | Galoce
Published on: | Author: Galoce Technical Support Team
Your torque sensor is talking to you – erratic jumps, creeping zero, or dead silence. Knowing what these symptoms mean can save hours of downtime and prevent unnecessary replacements. This guide covers the four most common torque sensor problems, their likely causes, and step‑by‑step fixes. It also includes a physical inspection checklist, a simple decision flow, and a maintenance schedule for keeping your torque measurements reliable.
⚠️ Symptom 1: Erratic, jumping readings
What it looks like: The torque value jumps up and down randomly, even when the shaft is not moving. Readings may change when cables are wiggled.
Likely causes:
Loose connector or damaged cable (intermittent contact).
Electrical noise from nearby motors, VFDs, or power cables.
Moisture inside the connector or junction box.
For rotary sensors: worn slip rings (rare on modern models).
Fix steps:
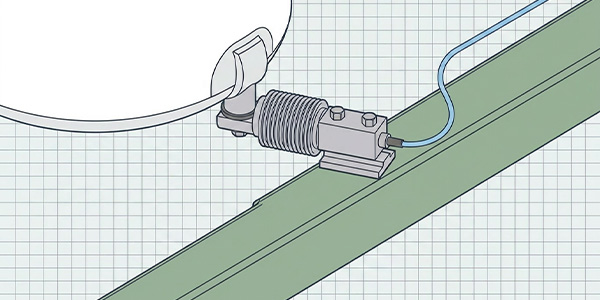
Inspect the cable and connector – tighten any loose connections.
Check for cuts or crushed sections; replace damaged cable.
Separate signal cable from power cables (at least 30 cm distance).
For analog sensors, ensure the shield is grounded at one end only.
If moisture is found, dry the connector and apply dielectric grease.
🌡️ Symptom 2: Zero drift (non‑zero with no torque)
What it looks like: With no torque applied, the display shows a slowly changing value – often drifting up or down over minutes or hours.
Likely causes:
Temperature change (sensor not warmed up or ambient shift).
Mechanical overstress (previous overload bent the sensor slightly).
Moisture ingress affecting insulation resistance.
Incorrect zeroing procedure.
Fix steps:
Allow 20–30 minutes warm‑up before zeroing.
Perform a fresh tare (zero) with no load.
If drift persists, check for mechanical damage – look for dents or twisted housing.
Measure insulation resistance (should be >5000 MΩ). If low, moisture has entered – replace sensor.
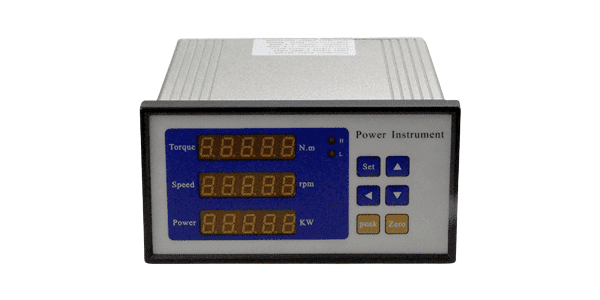
🔌 Symptom 3: No signal (display stuck at zero)
What it looks like: The indicator shows zero torque regardless of applied load. No change when torque is applied.
Likely causes:
Broken wire or disconnected cable.
No power to the sensor or indicator.
Blown internal fuse (on powered sensors).
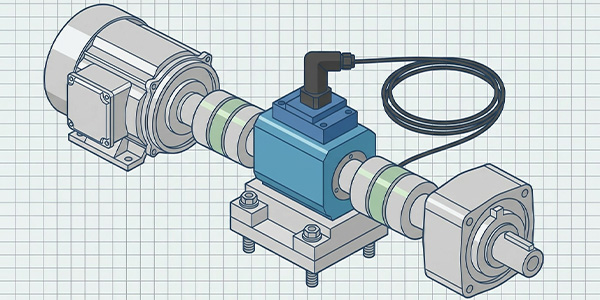
For rotary sensors: transport screws still in place (locking the shaft).
Amplifier or indicator failure.
Fix steps:
Check that the indicator is powered on and the sensor is connected.
Inspect the cable for cuts or loose pins.
For rotary sensors, verify that transport screws have been removed.
Test with a known‑good torque sensor (or a calibration resistor) to isolate the problem to the sensor or indicator.
If the sensor is dead, check warranty – most internal failures require replacement.
📉 Symptom 4: Low sensitivity (reading lower than expected)
What it looks like: When you apply a known torque (e.g., using a lever and weight), the sensor reads only 50–80% of the expected value.
Likely causes:
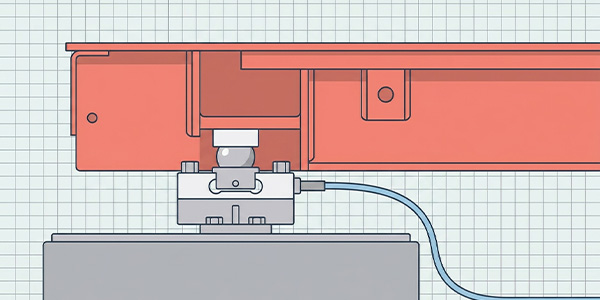
Misalignment – shaft coupling not aligned, causing binding.
Incorrect excitation voltage (for analog sensors).
Incorrect calibration factor in the indicator.
Mechanical overload that permanently reduced sensitivity.
Fix steps:
Check shaft alignment – angular and parallel misalignment should be within specs.
Verify excitation voltage matches sensor requirements (e.g., 5 V or 10 V).
Review the indicator’s calibration settings – ensure the mV/V value matches the sensor’s datasheet.
If still low, perform a full calibration with known weights or contact the manufacturer.
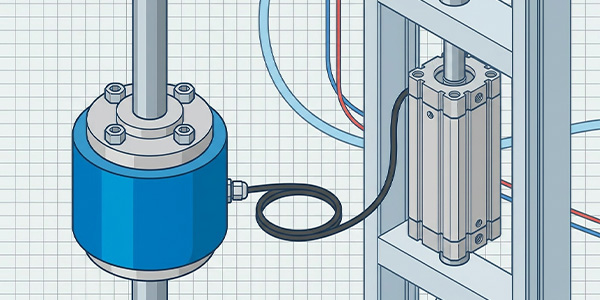
👁️ Physical inspection checklist
☐ Look for dents, scratches, or cracks on the sensor housing.
☐ Check for rust or corrosion (especially on alloy steel sensors).
☐ Inspect the cable for cuts, kinks, or crushed sections.
☐ Verify that the connector is clean, dry, and fully seated.
☐ For rotary sensors, ensure the shaft spins freely (no grinding).
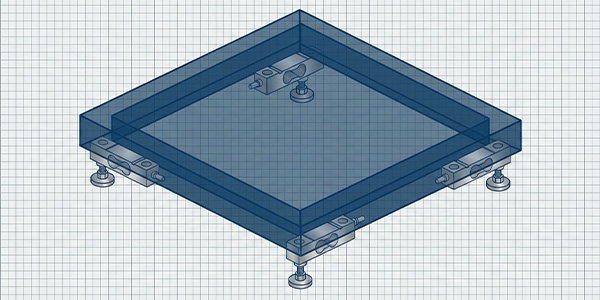
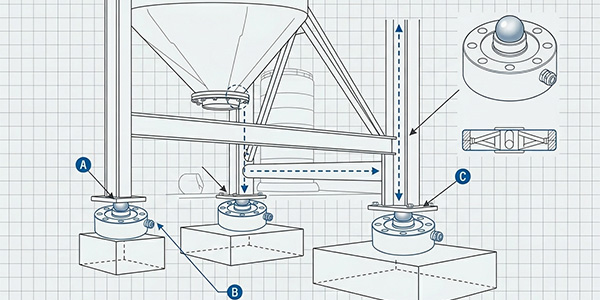
☐ Check that mounting bolts are tight (but not over‑tightened).
☐ Look for signs of overheating (discolored paint or plastic).
💡 Pro tip: Take photos of the sensor before installation. Later, you can compare to spot deformation or rust progression.
📅 When to recalibrate
Recalibration ensures that your torque readings remain accurate. As a rule of thumb:
After any overload event – even if the sensor still seems to work, accuracy may have shifted.
Annually for critical applications (quality control, testing).
Every 2–3 years for non‑critical monitoring.
After any mechanical repair or reassembly that affects the drivetrain.
Zeroing check (daily): Before each use, apply the tare function with no torque. If the zero shifts by more than 0.5% of full scale, investigate the cause.
📋 Simple decision flow (in text)
Start: Is there any reading?
↓
NO → Check power & cable → still nothing → Test with another sensor or indicator → Replace sensor if dead.
↓
YES → Is the reading stable?
↓
NO (erratic) → Check connectors, noise sources → tighten, separate cables.
↓
YES → Does zero drift?
↓
YES → Warm up → re‑zero → if still drifts → possible moisture or overload → replace.
↓
NO → Apply known torque → reading correct?
↓
NO (low) → Check alignment, calibration factor → realign, recalibrate.
↓
YES → Sensor is working normally.
🛠️ Recommended maintenance schedule
Interval
Action
Daily
Zero (tare) before use; visual check of cables and connectors.
Weekly
Inspect for unusual noise or vibration during operation.
Monthly
Clean the sensor and surrounding area; check for loose mounting bolts.
Quarterly
Perform insulation resistance test (for analog sensors).
Annually
Full recalibration by a certified lab; check alignment.
When to replace vs. repair
Most torque sensor problems are simple fixes: loose connectors, noise, or misalignment. However, some issues mean it’s time for replacement:
Physical damage: cracked housing, bent shaft, or rust penetrating the seal.
After a severe overload beyond 150% of capacity: even if it works, long‑term reliability is compromised.
No signal despite good cabling and power: internal electronics failure.
If you’re unsure, contact the manufacturer. At Galoce, we offer free troubleshooting support and fast replacement options. Talk to a torque sensor expert
Discover why GALOCE is the leading load cell manufacturer in China. Offering high-precision force sensors, 26-step quality audits, and global OEM/ODM engineering for US & UK industrial standards. Explore our brand guide.
Master industrial load cell installation with our 2026 handbook. Learn step-by-step mechanical mounting, cable routing, and professional calibration for tension and compression sensors to ensure accuracy and system longevity with GALOCE.