The Comprehensive Guide to Industrial Load Cell Troubleshooting
In the precision world of industrial measurement, even a minor reading error can compromise safety and quality. When your system displays "Error" or inconsistent weight data, a systematic diagnostic approach is essential. This 2000-word guide preserved your core strategies while providing a structured 10-point roadmap to master troubleshooting across US and UK industrial standards.
📋 Troubleshooting Roadmap:
1. Understanding Load Cells: A Quick Primer
Load cells are critical components in countless industries, from manufacturing and logistics to healthcare and aerospace. These precision instruments convert force or weight into electrical signals, enabling accurate measurements that drive decision-making, quality control, and safety. However, like any technology, load cells are prone to issues that can compromise their performance. Among the most common problems are drift, noise, and incorrect readings—each with distinct causes and solutions.
Before diving into troubleshooting, it’s essential to grasp how load cells work. At their core, load cells are transducers that use strain gauges to measure deformation under force. When a load is applied, the strain gauges (typically arranged in a Wheatstone bridge configuration) change resistance, producing a small electrical signal proportional to the force. This signal is then amplified and processed by a data acquisition system or indicator to display the weight or force reading.
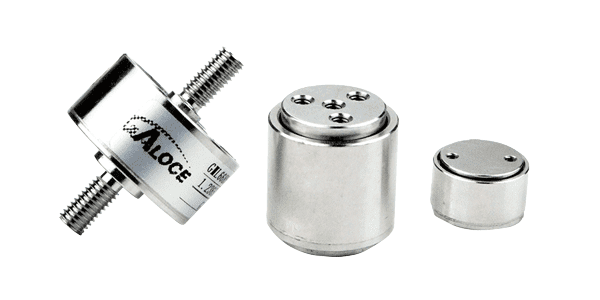
Load cells come in various types, including compression, tension, and shear load cells, each designed for specific applications. Common materials include aluminum, steel, and stainless steel, chosen for their durability and ability to maintain accuracy under load. Despite their robust design, load cells are sensitive to environmental factors, installation errors, and wear and tear—all of which can lead to the problems we’ll address here.
2. Problem 1: Drift—When Readings Gradually Shift
Drift refers to a slow, progressive change in load cell readings over time while the load remains constant. You might notice a platform scale showing an increasing weight value with no object added. Drift can be temporary (caused by rapid thermal swings) or permanent (caused by internal bridge damage). It is particularly detrimental in batching processes where high repeatability is required.
3. Root Causes of Drift in Industrial Sensors
Environmental Infiltration: Moisture is the #1 culprit. Water ingress into non-hermetically sealed IP65 sensors causes leakage currents that skew the signal.
Thermal Gradients: Rapid temperature changes cause the spring element to expand/contract faster than the gauges can compensate, leading to transient zero-drift.
Other major causes include Creep (gauge fatigue under long-term load), aging solder joints, and chemical corrosion of the sensor body in food or pharmaceutical wash-down sites.
4. How to Troubleshoot Drift: Step-by-Step
Step 1: Isolate Hardware. Disconnect the load cell from the indicator and use a signal simulator. If drift continues on the indicator, the issue is in the controller/display electronics.
Step 2: Check Insulation Resistance. Use a multimeter to measure between any lead and the sensor body. Anything below 5000 MΩ indicates moisture ingress.
Step 3: Verify Grounding. Ensure the shield/drain wire is connected to a clean Earth ground at the indicator side to prevent slow charge accumulation.
5. Problem 2: Noise—Unwanted Signal Disturbances
Unlike drift, noise is sudden, erratic, and random. It manifests as jumping numbers on your indicator. This "chatter" makes stable weighing impossible and can trigger false setpoints in automated systems.
6. Root Causes of Noise: Electrical & Mechanical
Noise is predominantly an EMI/RFI issue. Nearby Variable Frequency Drives (VFDs), welding machines, or high-voltage power lines induce unwanted currents into the low-voltage mV signal wires. Additionally, mechanical vibration from mixers or industrial pumps can cause the Wheatstone bridge to oscillate, corrupting the digital conversion.
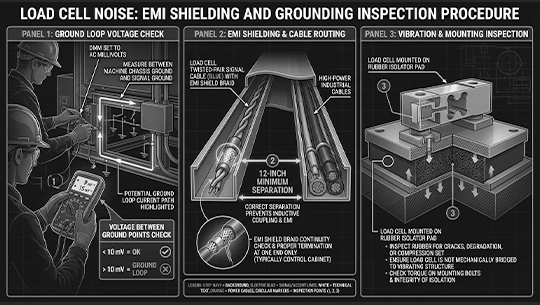
7. How to Troubleshoot Noise Effectively
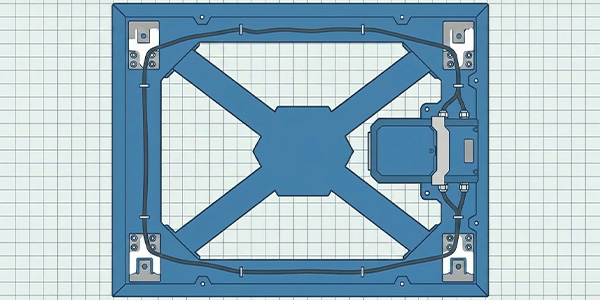
1. Ground Loop Audit: Use a multimeter to check for AC/DC voltage between the indicator chassis ground and the load cell mount ground. Any reading suggests a ground loop that requires unification.
2. Shielding Inspection: Ensure the braided shield is intact. Load cell cables must be routed at least 12 inches away from power lines.
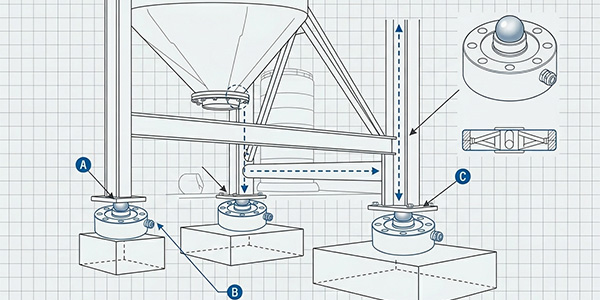
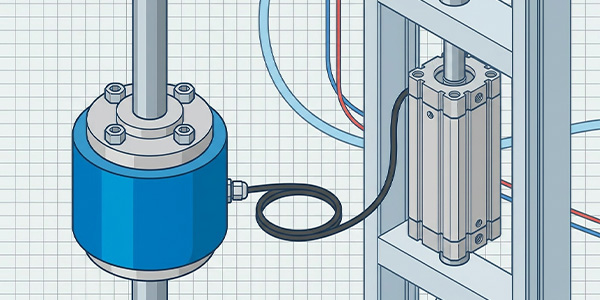
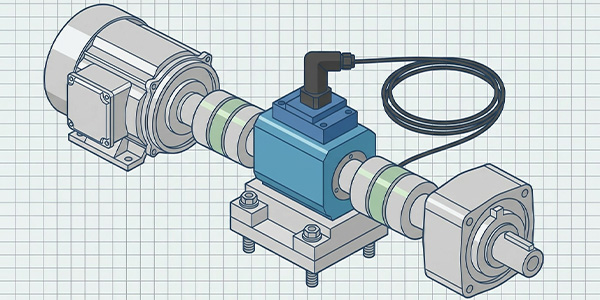
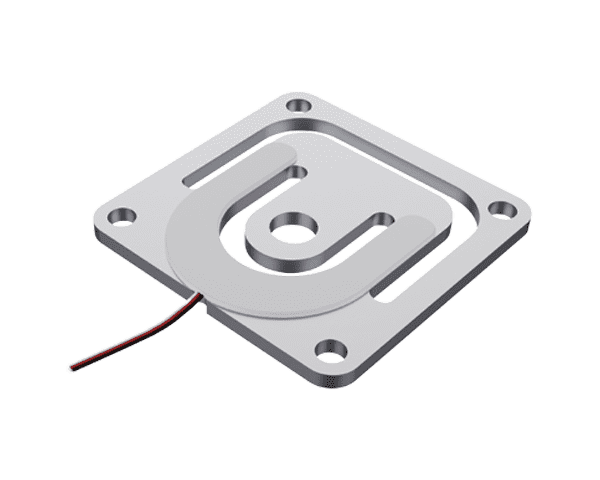
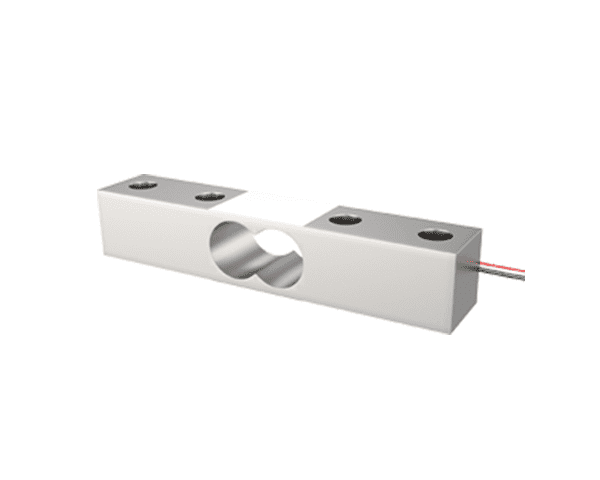
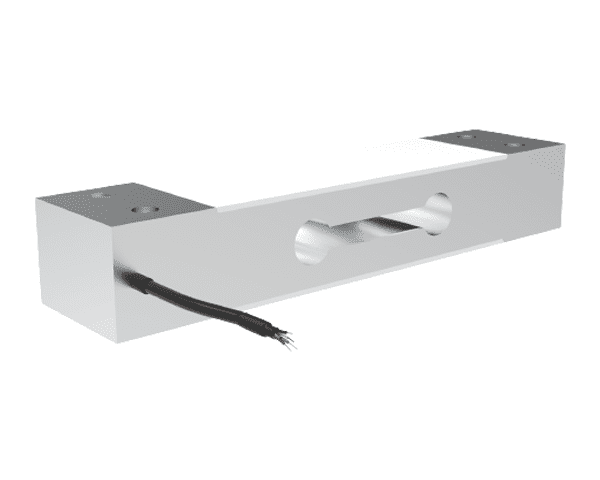
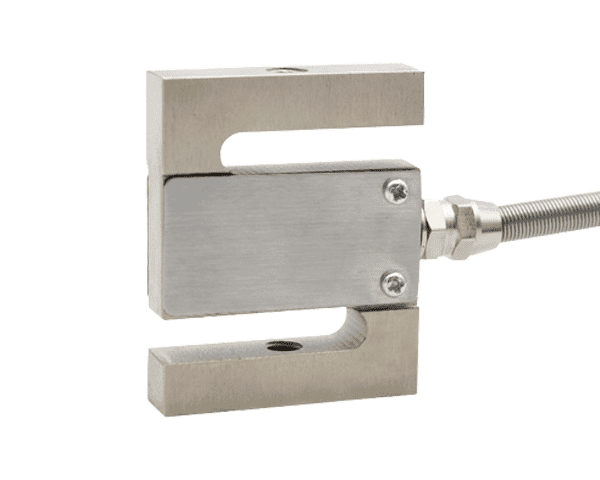
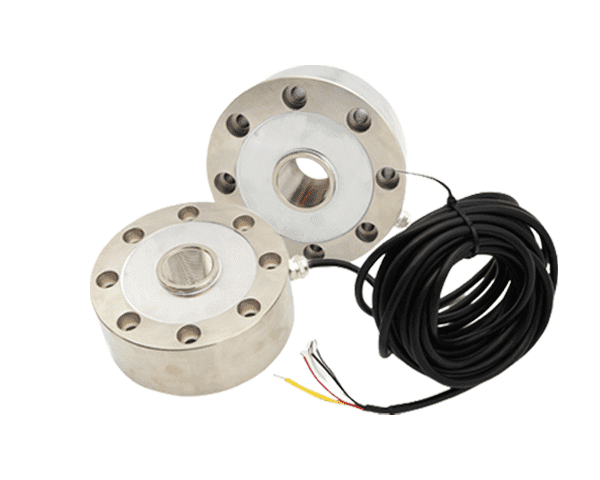
3. Vibration Dampening: If noise correlates with machine operation, install rubber isolators on GSL301 or GSB205 mounts to stabilize the bridge.
Signal Integrity & Axial Alignment Guide
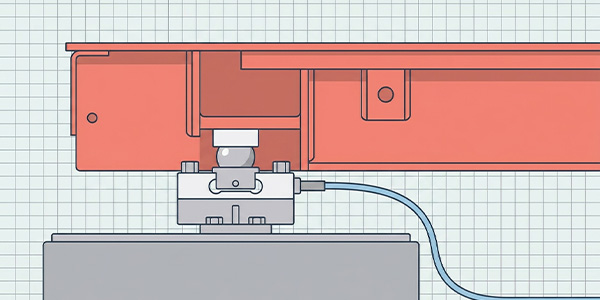
8. Problem 3: Incorrect Readings—Measurements vs. Reality
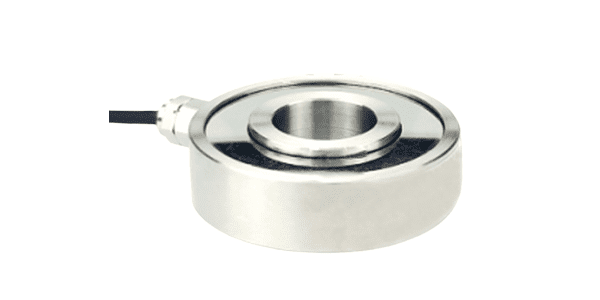
Incorrect readings are consistent but wrong (e.g., 100kg object reads 85kg). This indicates a systemic failure. The primary suspects are Mechanical Binding (something touching the scale) or Permanent Gauge Deformation from a severe overload. You should check the Bridge Resistance: a healthy 350Ω sensor should measure 350Ω ± 3Ω across its signal leads. Any significant deviation indicates a damaged bridge.
9. Preventive Maintenance SOP
Maintenance is the key to longevity. Implement a "Zero Check" every 3 months. If the zero shift exceeds 1% of full scale, investigate for binding immediately. Annual NIST-traceable calibration ensures regulatory compliance for trade-approved systems.
10. Technical FAQ: Support for Professionals
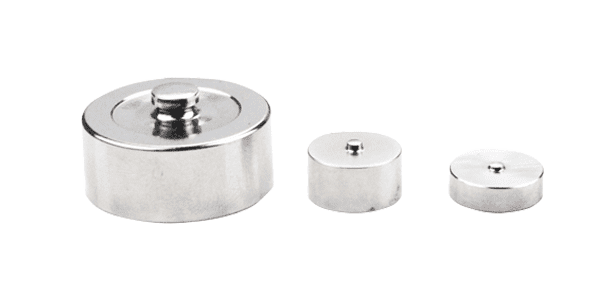
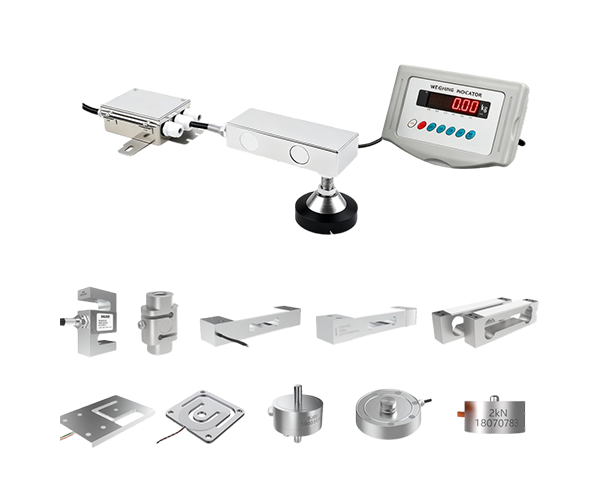
How do I choose the right sensor among so many models?
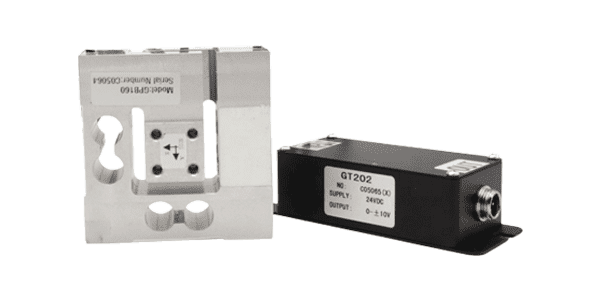
It depends on your structure. We offer a full matrix (Micro, S-type, Beam, Single Point) covering 1kg to 100t. Simply tell us your rated load and application, and we will provide the exact model.
Can you provide a complete system instead of just separate parts?
Yes. We specialize in system integration, providing a pre-calibrated kit of sensors, junction boxes, and indicators for a "plug-and-play" experience.
How do you ensure the precision and reliability of the sensors?
Every sensor undergoes 1:1 full-scale calibration and advanced temperature compensation, ensuring high accuracy (<±0.02% F.S.) and long-term stability.
Is your equipment suitable for harsh, corrosive, or wet environments?
Absolutely. We offer IP68 laser-welded stainless steel models specifically engineered for chemical, food processing, and outdoor industrial sites.
Can your sensors replace my current ones from other brands?
Yes. Our sensors follow international standard dimensions. Provide us with your current model or drawing, and we will offer a 100% compatible Galoce equivalent.
Do you support OEM/ODM or customized requirements?
Yes, we provide deep customization. This includes custom cable lengths, specialized connectors, specific capacity ranges, and private labeling to match your brand and engineering needs.
What certifications and technical support do you provide?
We are ISO 9001 certified with CE, RoHS, and REACH compliance. Our engineers offer free technical guidance from wiring diagrams to on-site troubleshooting.
Restore Your Measurement Precision Today
Still facing inconsistent readings? Whether you need technical advice on troubleshooting or a robust replacement for harsh environments, GALOCE engineers are ready to support your global requirements.