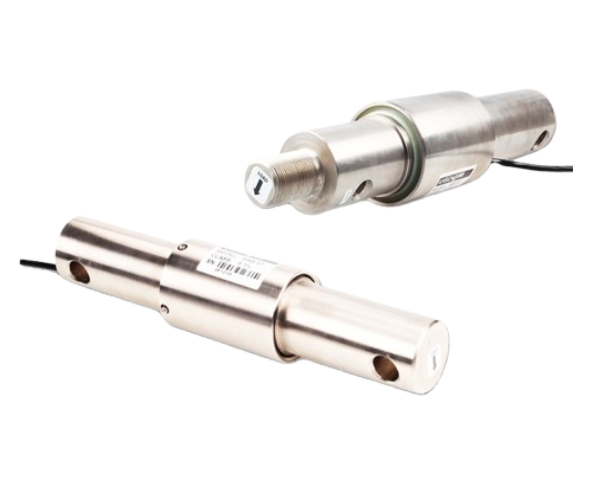
Mastering the Load Cell Resistance Check: The Comprehensive Technical Guide
In the world of industrial measurement, accuracy is the currency of success. When your system displays fluctuating weights or mysterious drift, you need a reliable diagnostic method. This 2000-word guide walks you through the essential 10-point roadmap for load cell resistance testing—from foundational principles to advanced multimeter diagnostics across US and UK standards. Mastering these checks will help you minimize downtime and protect your structural integrity.
1. Why Resistance Matters in Industrial Weighing
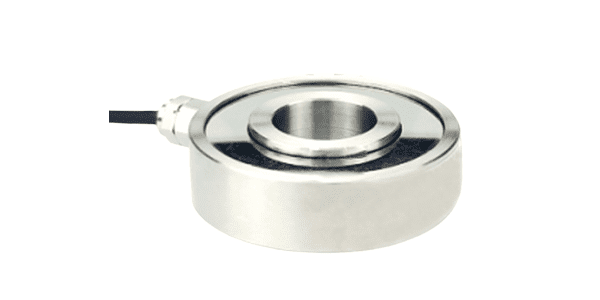
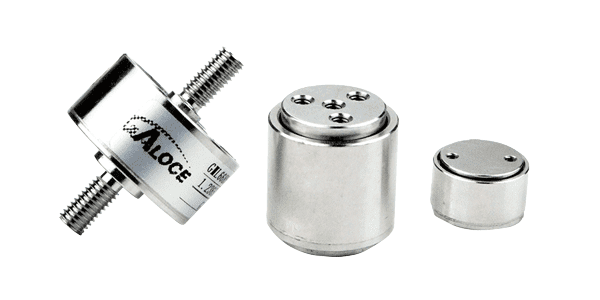
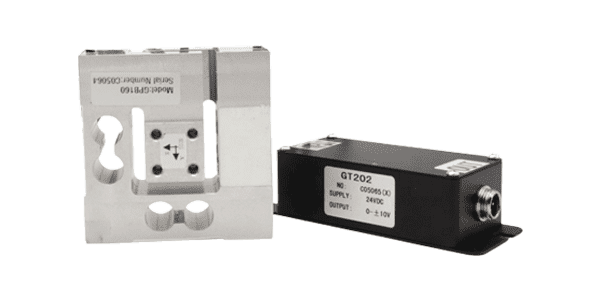
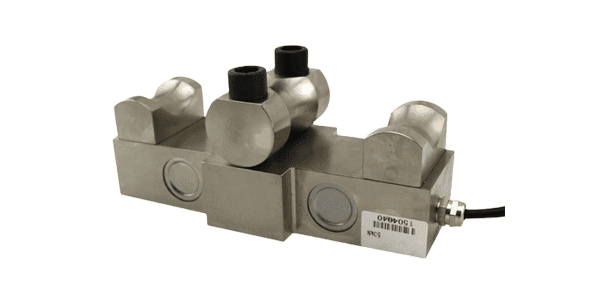
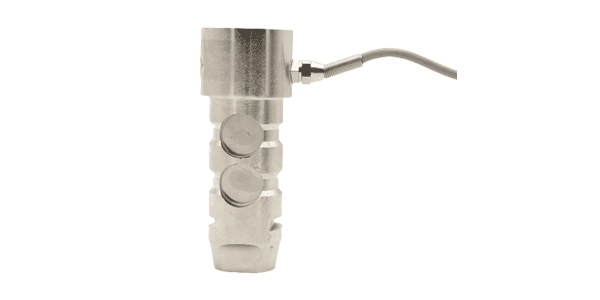
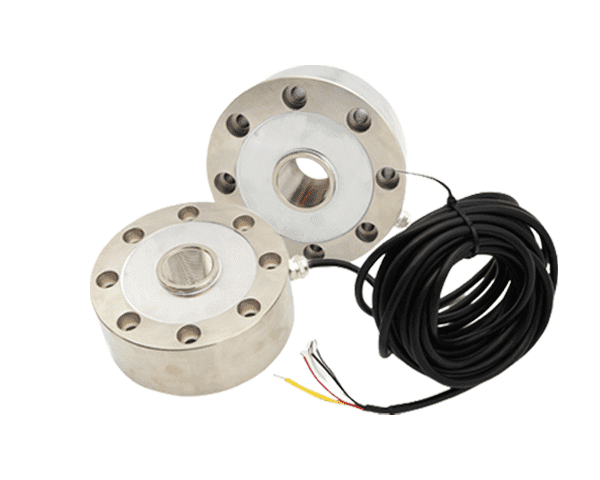
A load cell is a precision transducer that converts mechanical force into an measurable electrical signal. Most models utilize Strain Gauges bonded to a metal spring element. When force is applied, the deformation changes the gauges' electrical resistance. If this base resistance drifts from its factory-calibrated "nominal" value, the accuracy of your entire system—from packaging quality control to heavy-duty silo tracking—will fail.
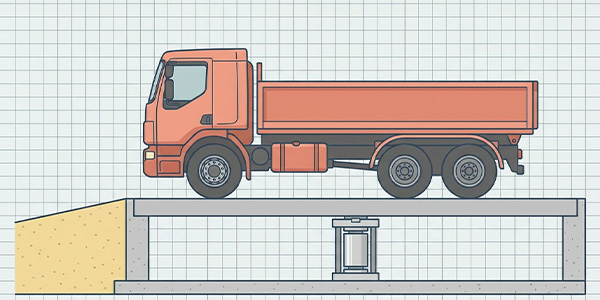
Resistance is the foundational health metric. A deviation of just a few ohms can signal internal bridge damage, moisture corrosion, or wire fatigue. For businesses in the UK or Australia, ensuring correct resistance is critical for regulatory compliance and preventing revenue loss from underloading ore trucks or shipping incorrectly weighed pallets.
2. Key Resistance Parameters to Test
To perform a comprehensive diagnostic audit, you must focus on three critical technical parameters using a high-quality Digital Multimeter (DMM):
Input Resistance:
Measured between the Excitation (+) and (-) leads. This checks the health of the power input circuit. For a standard 350Ω cell, it typically reads 380Ω - 450Ω because the Wheatstone bridge and compensation resistors add overhead resistance.
Output Resistance:
Measured across the Signal (+) and (-) leads. This should match the nominal bridge resistance exactly (e.g., 350Ω ± 3Ω). Any value outside this 1% tolerance suggests a stretched or detached strain gauge.
Insulation Integrity:
This tests the electrical barrier between the internal circuitry and the sensor's metal body. A healthy load cell should read at least 5000 MΩ. Values below 500 MΩ indicate moisture intrusion or wire insulation failure.
3. Pre-Test Preparation & Safety Protocols
Step 1: Complete Power Isolation. Never perform a resistance check on a live system. Turn off the controller and disconnect the load cell from its terminal block. You must test the sensor in isolation to avoid measuring the indicator's internal resistance.
Step 2: Clean and Dry. Especially in humid regions (Southeast Asia), moisture on terminal pins can cause false low resistance. Wipe all leads with a clean, dry cloth before probing.
Step 3: Tool Calibration. Ensure your DMM has fresh batteries and is zeroed. Contact resistance in old probes can add 1-2Ω, which is enough to misdiagnose a healthy 350Ω bridge.
4. Step-by-Step Check Guide: Multimeter Method
Identify Wires: Most GALOCE sensors follow the Red (Exc+), Black (Exc-), White (Sig+), Green (Sig-) standard. Always verify with your specific datasheet first.
The Probing Process: Set DMM to 2000Ω. Place probes on Red/Black. Record value. Move to White/Green. Record value. Finally, set DMM to Megohm (MΩ) and touch one probe to any wire and the other to the metal casing of the load cell.
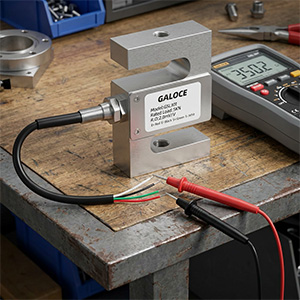
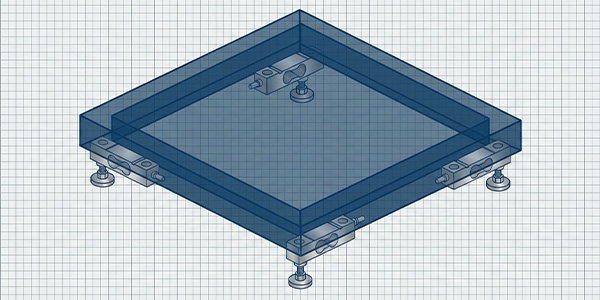
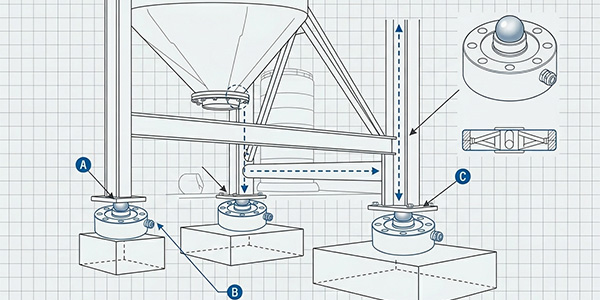
Axial Alignment & Bridge Integrity Points
5. How to Interpret Your Resistance Readings
6. Common Issues Detected by Testing
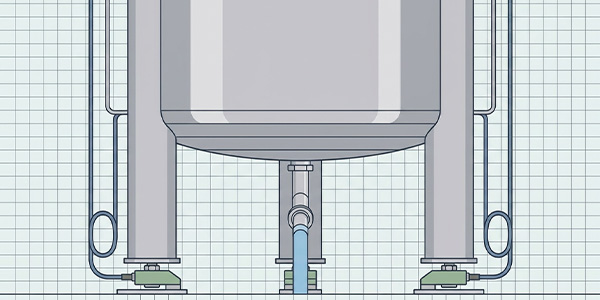
A resistance check acts as an "X-ray" for your weighing system. Beyond simple failures, it detects Thermal Drift (unbalanced resistance legs) and EMI Leakage. In agricultural silo applications, we frequently find that pests chewing through cables show up as erratic insulation resistance before the system fails completely.
7. Region-Specific Challenges & Environmental Logic
Geography influences sensor health. In the Nordic region, condensation is the silent killer—moving a sensor from -20°C outdoors into a warm lab causes internal dew; you must wait 3 hours for acclimation. In Southeast Asia, the high humidity (90%+) demands IP68-rated stainless steel sensors to prevent bridge oxidation.
8. Pro Tips to Extend Load Cell Lifespan
-
Shield Integrity: Always ground the drain wire at the indicator end only to prevent ground loops.
-
Surge Protection: In lightning-prone silo installations, use surge modules in the junction box.
-
Periodic Calibration: Even if resistance is perfect, re-calibrate with test weights annually.
9. Technical FAQ: Support Center
How do I choose the right sensor among so many models?
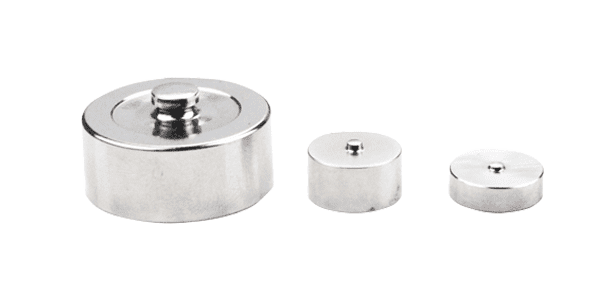
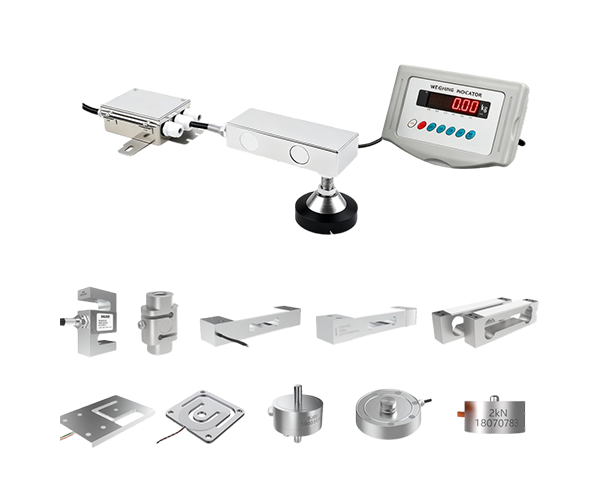
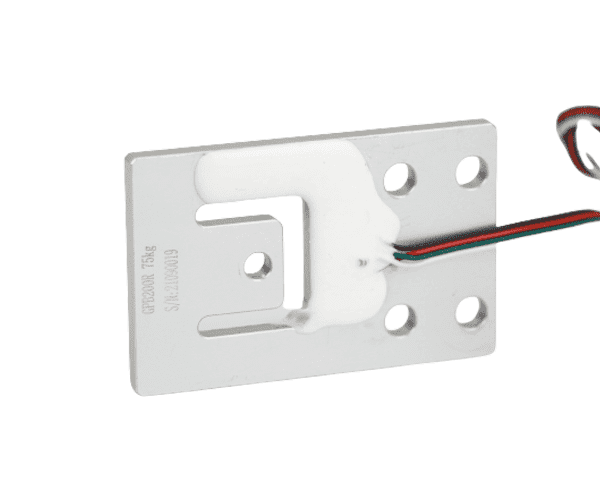
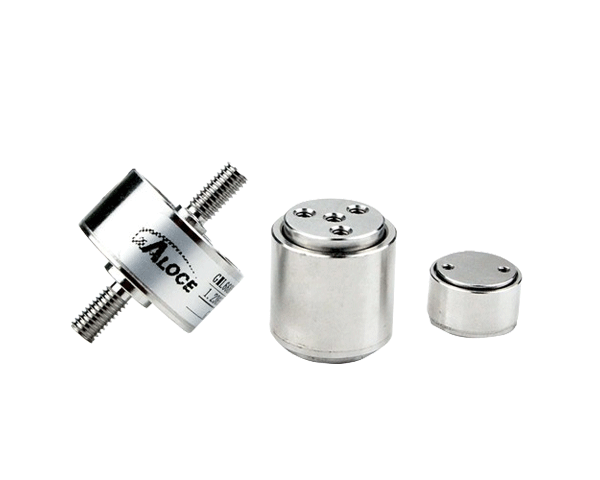
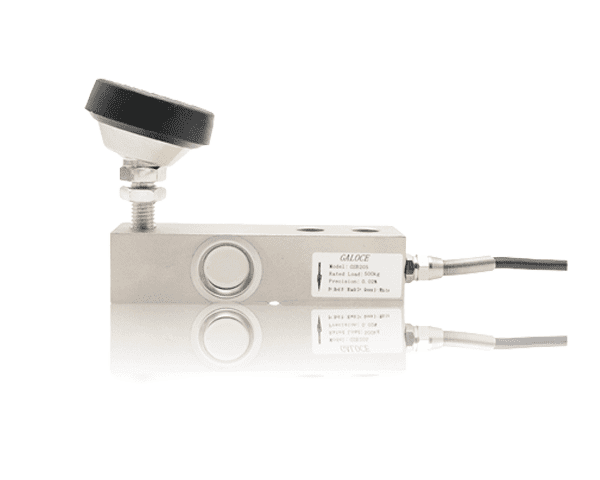
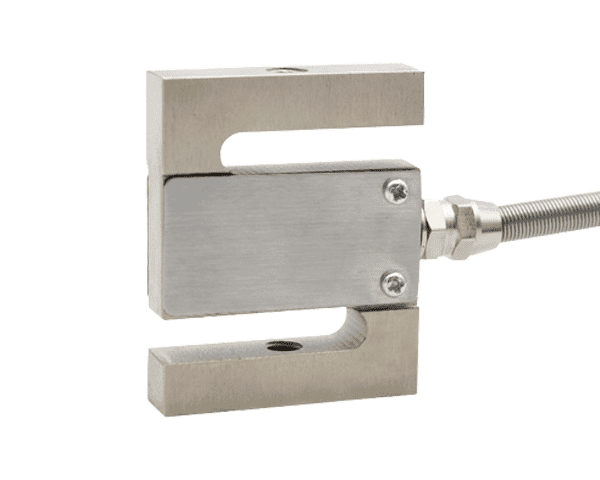
It depends on your structure. We offer a full matrix (Micro, S-type, Beam, Single Point) covering 1kg to 100t. Simply tell us your rated load and application, and we will provide the exact model.
How do you ensure the precision and reliability of the sensors?
Every sensor undergoes 1:1 full-scale calibration and advanced temperature compensation, ensuring high accuracy (<±0.02% F.S.) and long-term stability.
Is your equipment suitable for harsh, corrosive, or wet environments?
Absolutely. We offer IP68 laser-welded stainless steel models specifically engineered for chemical, food processing, and outdoor industrial sites.
Can your sensors replace my current ones from other brands?
Yes. Our sensors follow international standard dimensions. Provide us with your current model or drawing, and we will offer a 100% compatible Galoce equivalent.
What certifications and technical support do you provide?
We are ISO 9001 certified with CE, RoHS, and REACH compliance. Our engineers offer free technical guidance from wiring diagrams to troubleshooting.
Ready to Elevate Your Weighing Accuracy?
Selection is as important as installation. Whether you need C2-grade precision, extreme IP68 protection, or custom system integration, GALOCE technical engineers are here to support your project.